
The other day I posted about CloudFlare Tunnels which has gotten a bit of interest around the community. CloudFlare Tunnel on their own are “good” because they allow you to publish an external routable hostname without opening firewall ports and port forwarding. As I have had to address on Twitter that is only PART ONE of the secure solution. Adding the CloudFlare Access layer is PART TWO and that is what I am going to address here. You will also see how you can protect other CloudFlare proxied web applications like this very blog site, that are not running over a tunnel with CloudFlare Access.
I saw that tweet today and started some conversations about the previous tunnel post, but what I quickly realized was missing was that THIS post about CloudFlare Access. Now I am not condoning publishing your vCenter on an open URL, but IF you are going to do it….read on.
What is CloudFlare Access?
CloudFlare Access is a component of their Zero Trust offering, as is CloudFlare Tunnels. The best way to describe this from my perspective is this provides a “gate” before you ever even access the website or web application. If something is protected you are first directed to a page like this.

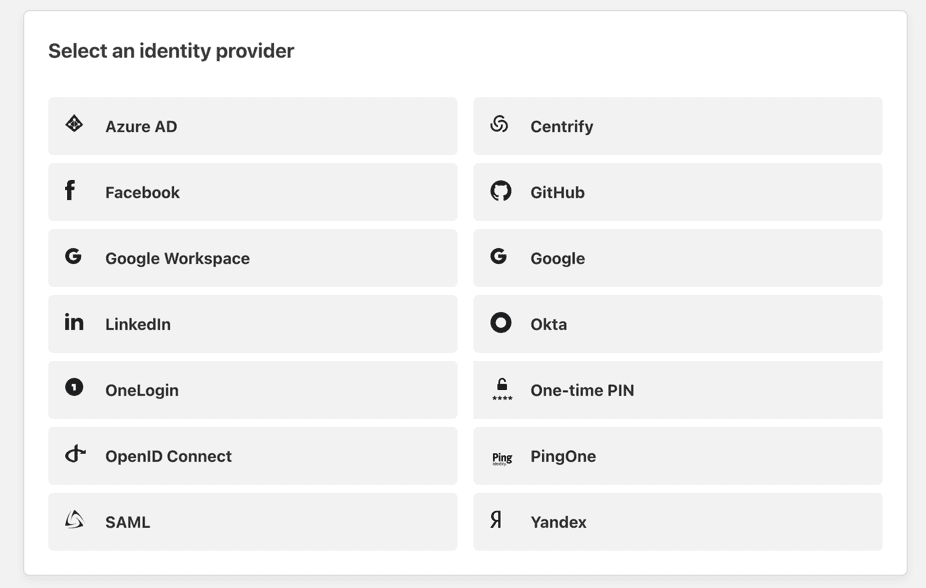
Yes, for fun you can see that is an “ESX Web UI” but we will maybe discuss that later. The point here is you are not actually even “at” the application or it’s login page. The other note here is you can (and should) add an identity provider to your CloudFlare Zero Trust options. You can see above I am using Google Workspace but they support others.
Another key point here is a full NMAP scan of the protected application will ONLY yield information about the CloudFlare Access page, NOT the actual application. This is another added benefit as a scan won’t show you the applications data info. We will look at that in a bit.
How To Configure CloudFlare Access (With Tunneled App)
If you have already setup a tunneled app from the previous post that is already exposed (and may even have an application login), but now let’s layer on CloudFlare Access to add the extra layer of Zero Trust to it. In some cases once this is added, you “could” remove the application’s local login but if you don’t I call this the “belt and suspenders” method.
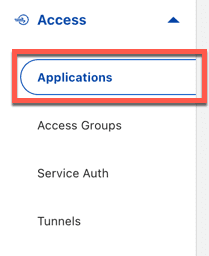
In your CloudFlare Zero Trust dashboard navigate to Access–>Applications
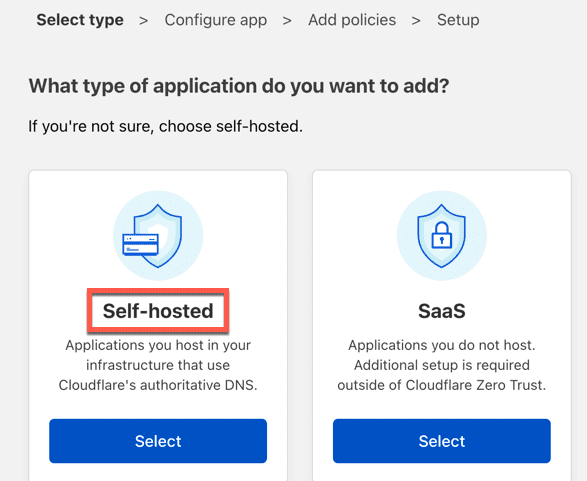
From there click Add Applications and select Self-Hosted. There are obviously other things you can do here but we will focus on the simple Policy setup for a self hosted app such as your previously created tunnel application
Next you configure the information about the app. Assuming this is to front end your tunnel you want to match the hostname to what your tunnel is setup for. Now I did not go into it but below you can see I have an Identify provider. That is something you want to setup for sure if you have one. It gives you more control over the default one-time code option that is included.
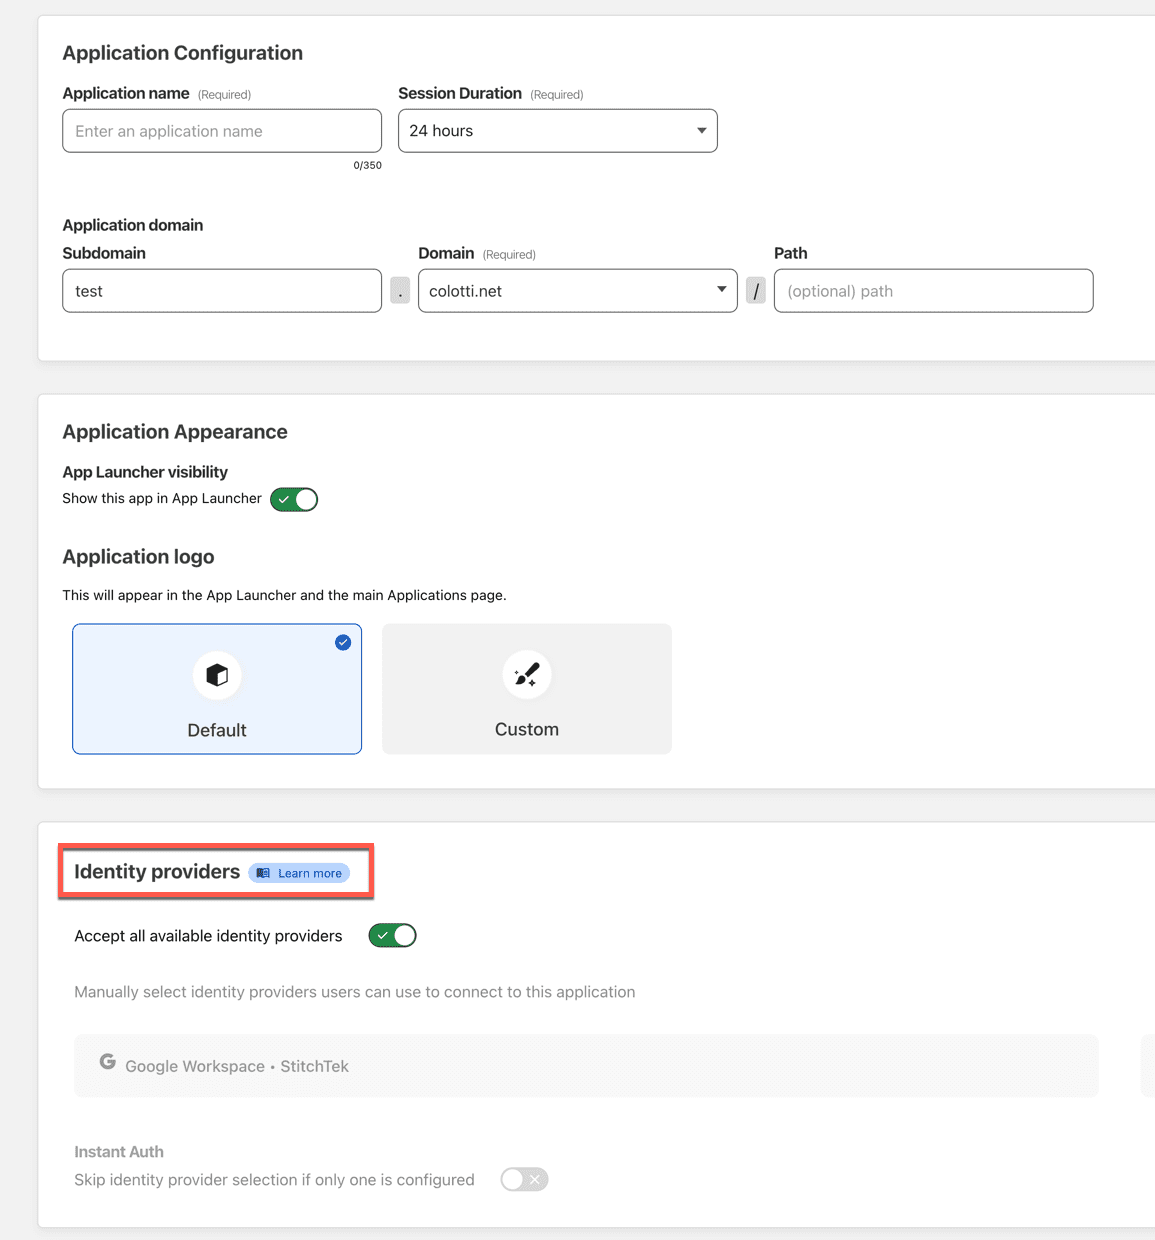
You can also choose to publish this in the application launcher, or allow one certain identity providers, bypass the provider selection if only one is available. I have setup various combinations for my different apps.
The next step is to apply a policy to this application. You an pre configure some access groups so you can re-use them. I have some source IP groups for things like Uptime Robot, ManageWP, and also for email/accounts that can log in. This speeds up this part of the config.
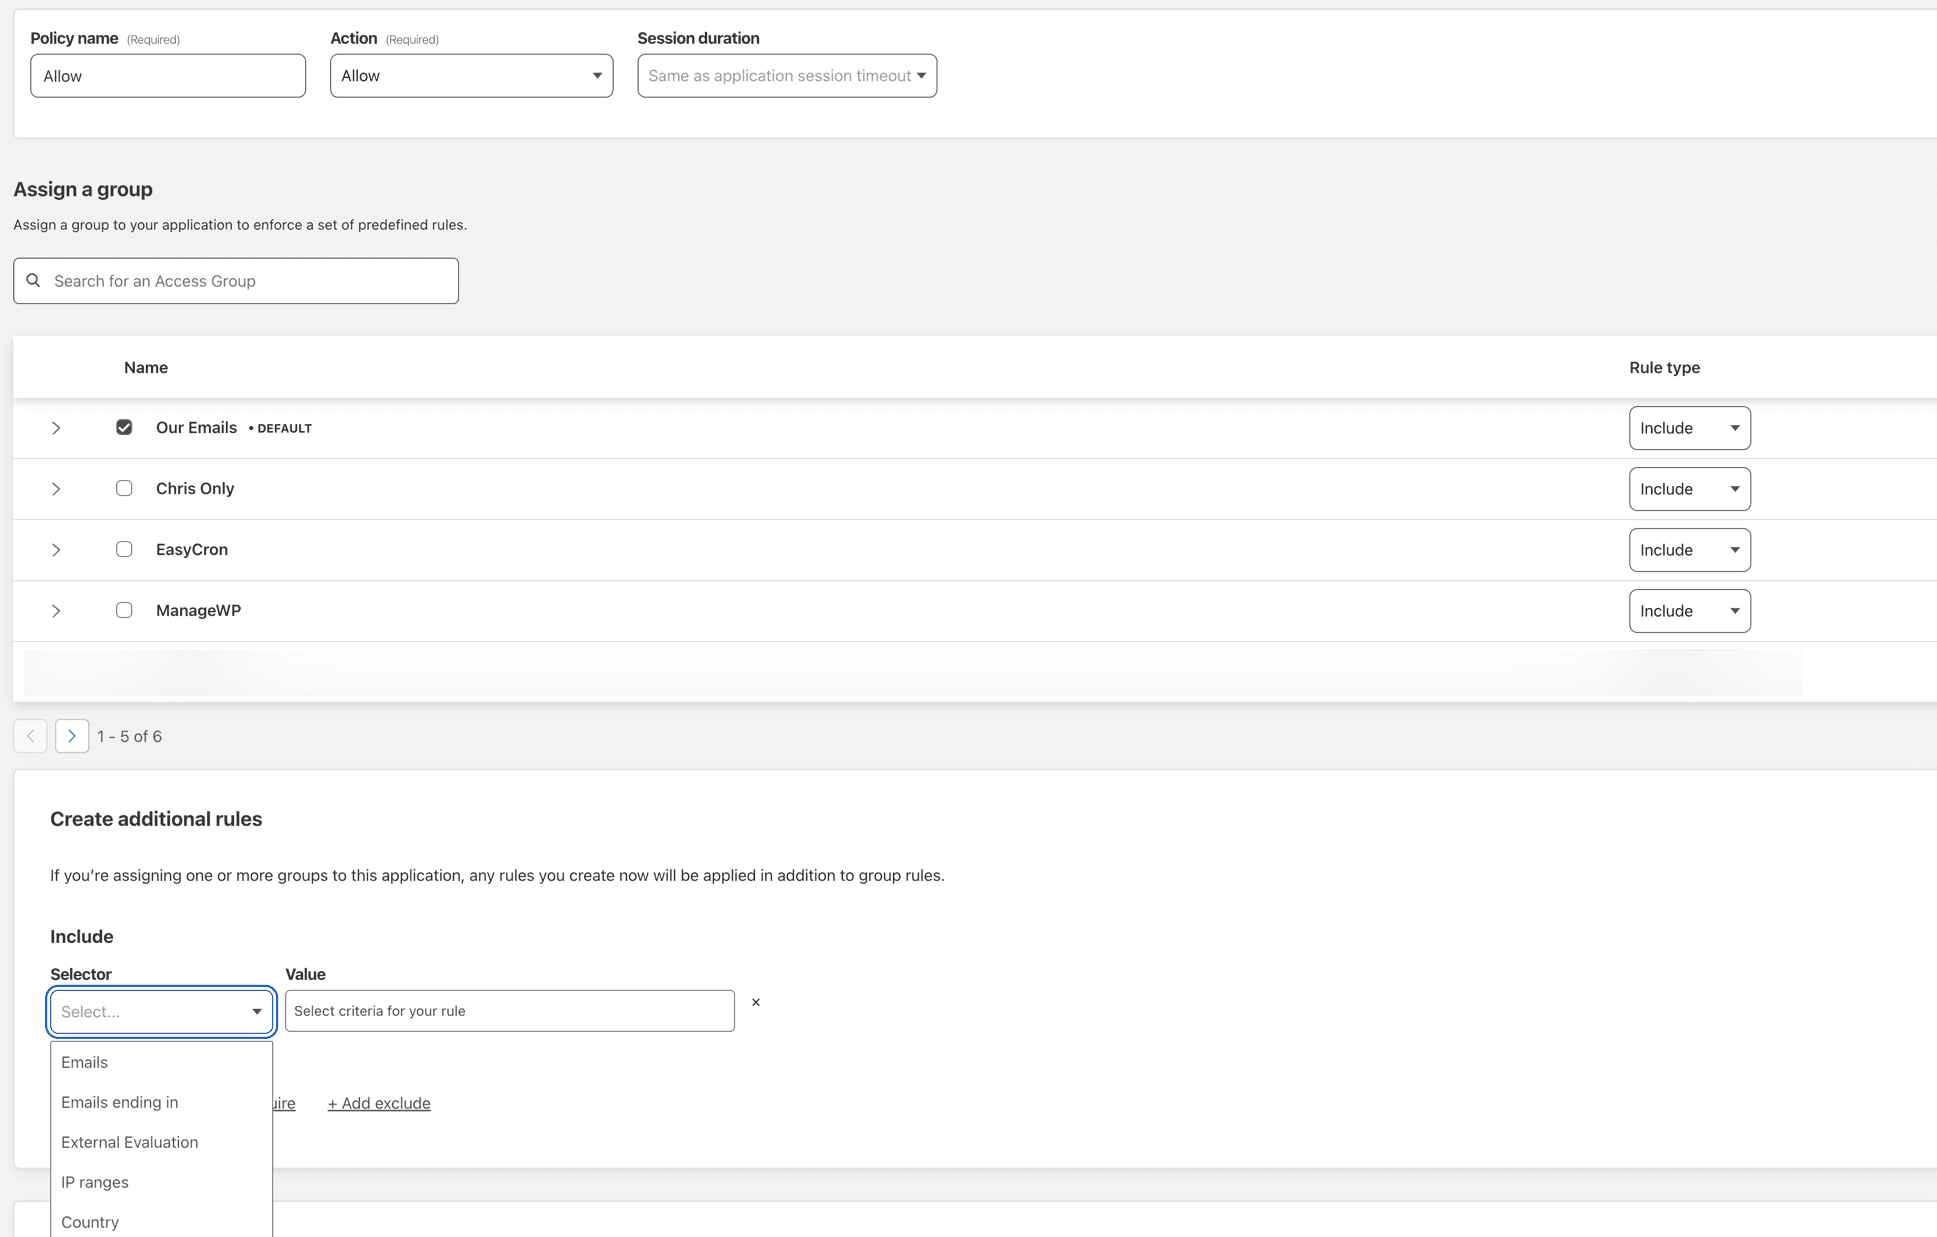
You can have as many rules as you like and they are processed top down from what I saw. I will note that once this is in place and EVERYONE gets the landing page, things like monitoring will need a BYPASS rule so they are still monitoring the real application. I figured that out pretty quick with UptimeRobot. There are other options here but this gets you to the basic redirected login page once you are done.
Using CloudFlare Access With WordPress Sites
Now if you are using something like WordPress as a self hosted app with a hosting company like I do with CloudWays, and you are using CloudFlare DNS and CDN proxy even without a tunnel you can protect parts of the WordPress site. Here are a couple applications with rules only allowing me to access these endpoints, which you can tell are the admin backend and the login page.
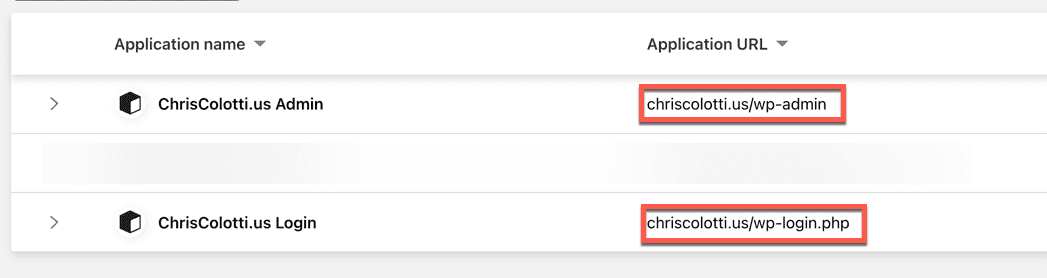
Go for it and try to access those URLs below and you will see the Zero Trust landing page
- https://chriscolotti.us/wp-admin
- https://chriscolotti.us/admin
- https://chriscolotti.us/login
- https://chriscolotti.us/wp-login.php
So what does this mean to bots? Well, I have seen a drop in bots trying to access these pages attempting logins. They simply can’t get to them. I tested this with WooCommerce as well and the built in WooCommerce login is not affected by these rules for customers. That’s a different URL which obviously I don’t want to gate.
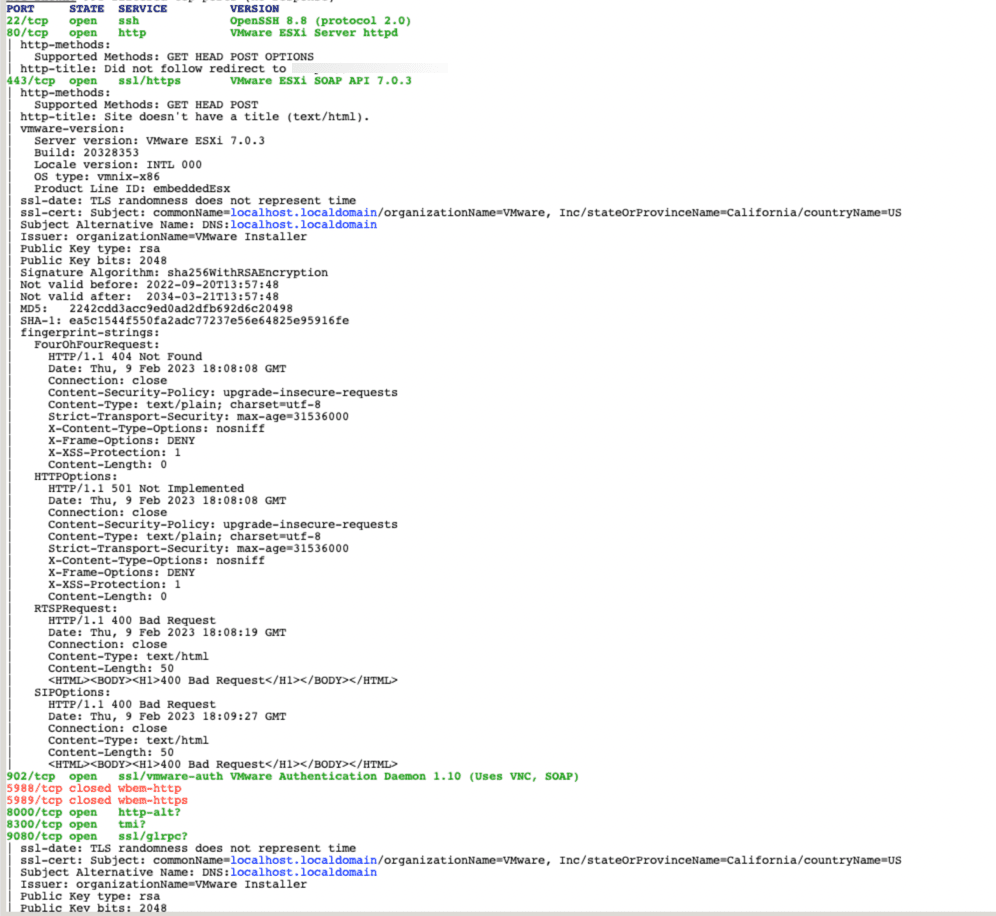
What About VMware ESX and vCenter?
Based on this setup it is plausible you can actually safely expose these on a public domain name if you are using the Access portion. Again, I am NOT recommending this for production systems, but for you home lab folks this can be a safer method. No open firewall ports with the tunnel, and a gated login page from Access. So what does this look like with a full NMAP scan? First is a scan of an open ESXi host (not vCenter). Note all the information including version, vendor, etc. This is how an attacker knows you are running a VMware host on the public internet, including build number!
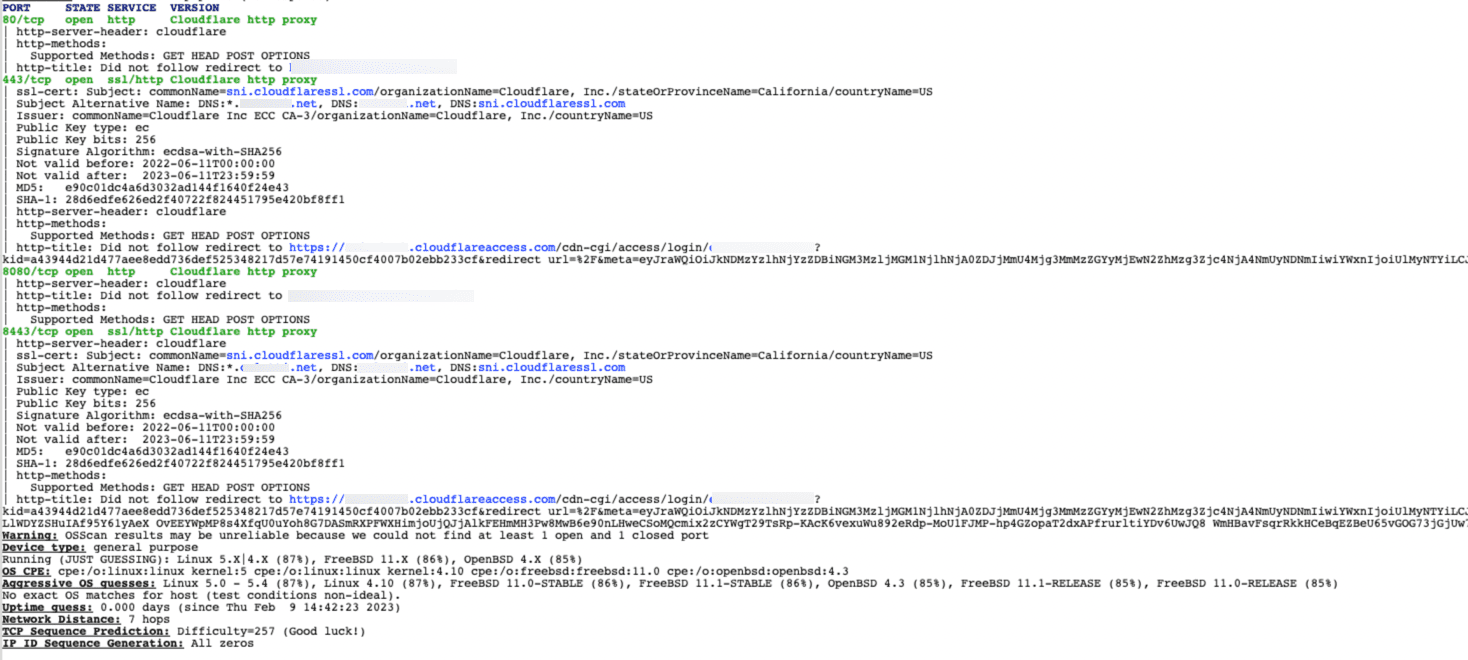
Now here is the scan of the same server protected by CloudFlare Access (and using a CloudFlare tunnel) but the key is NOT the tunnel, it is the access layer. One thing you notice is it’s much less information, and all of it is just about CloudFlare and Access redirects, etc.
CloudFlare Access Conclusions
I realize this was a brief overview, and there is a lot more you can do with CloudFlare Tunnels and CloudFlare Access, but so far I am a huge fan of how it’s provided me new, more secure options for many things. I recommend everyone with a home lab or even for corporate use try all this out and see for yourself. Please post comments of your experience with both of these. I want to hear how you are adapting this to your use cases.

One comment
Pingback: Mitigating VMware CVE's Without Patching • Chris Colotti's Blog