Let me first state that the bulk of this MUST be done by a licensed propane company. The connection to your RV is easy enough once you get a line put in the ground, but the point of this post is to explain what took me about a month to figure out. This was finding the right hoses and connections to leverage the line the propane company supplied me with. Let’s start with a few things.
Install an Extend-A-Stay Kit
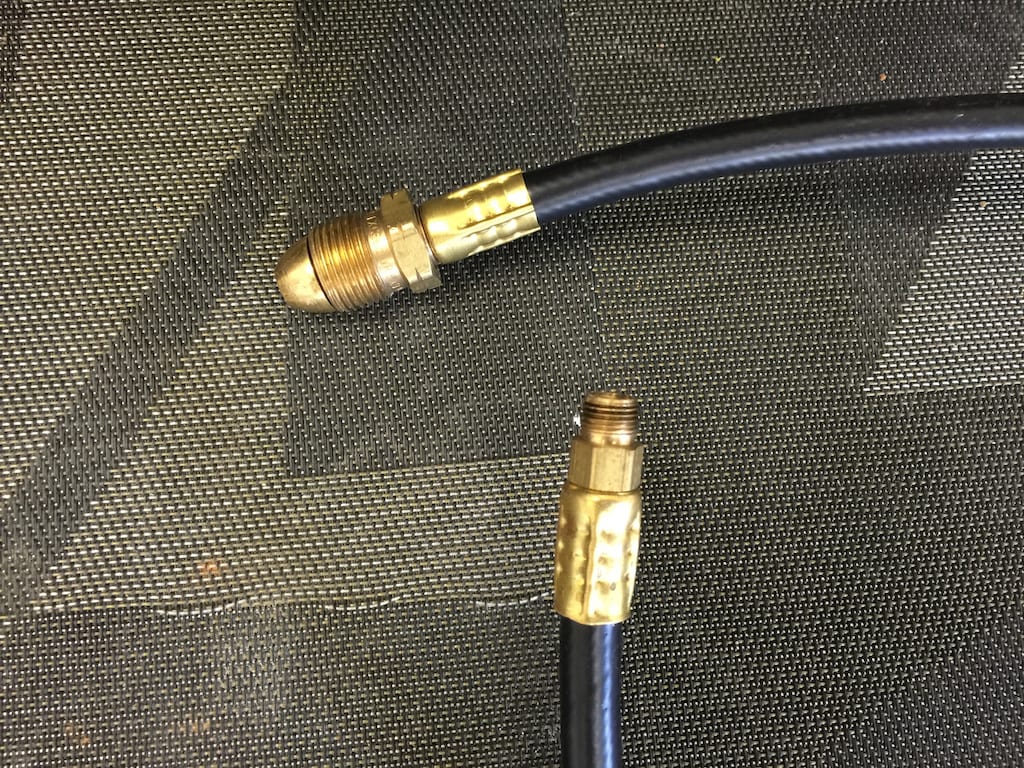
Most people I have seen already have one of these units. It’s a “Tee” fitting in line between your Coach’s regulator and propane take. The trick is it has TWO connections. One connection for connecting appliances like small grills that use the “disposable bottle” style fitting. This is considered an “outflow” connection since gas flows out to the appliance. The other is a 1/4″ INVERTED Flare connection where you hook up an external propane tank. Most of these kits will come with a short 24″ hose with the 1/4″ Inverted flare and an ACME bottle style fitting. This is considered an “inflow” connection since you would connect a bottle of propane to supply your appliances. The fact is you can have both a bottle and a grill connected together with the two different fittings. Most people will have all these part installed and hoses already. The trick is using them!
Run a High Pressure Gas Line
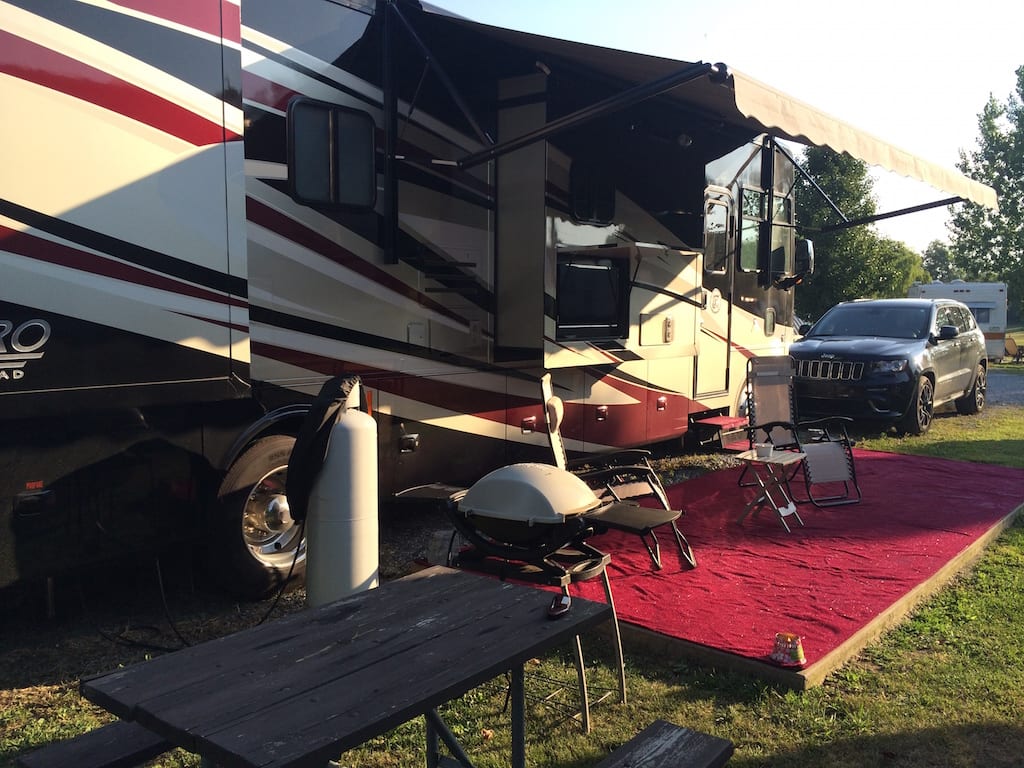
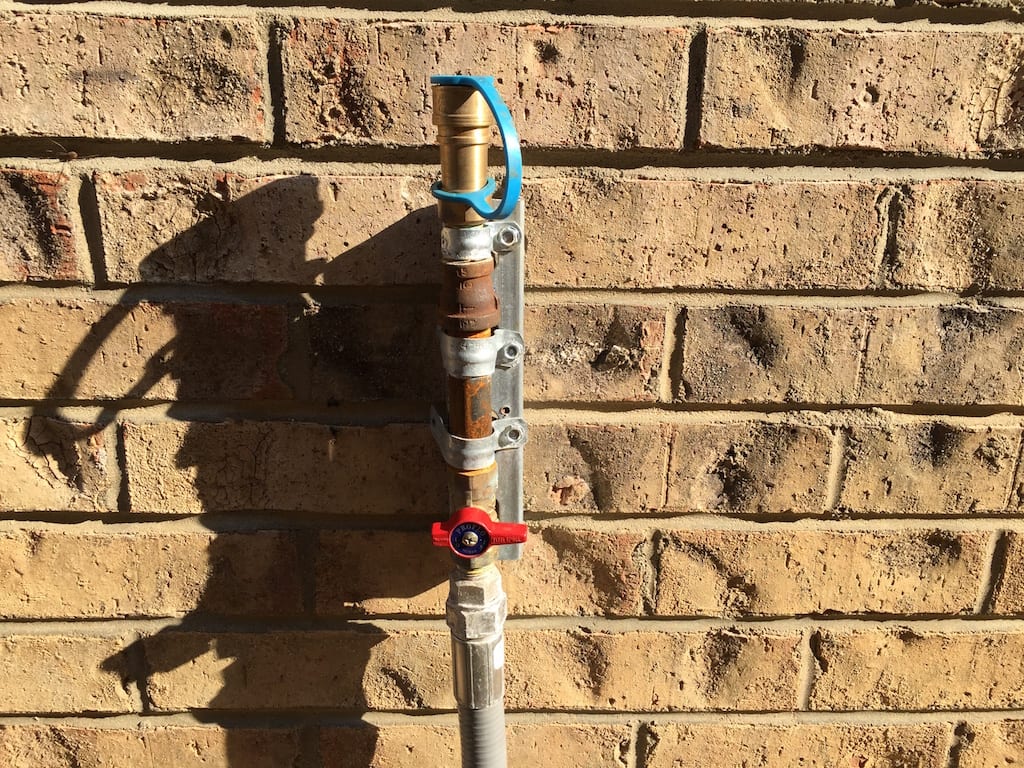
Check with your local propane company, but since the coach has a regulator, and when you hook up a 100 pound bottle, that’s considered a high pressure connection, you need a line brought to the coach. You can see below, we have one run and installed on the back of the garage with a gas quick connect for easy installation and removal. You can also see there is a local shutoff valve at the connection. This line is tied into the buried tank BEFORE the main house regulator as far as I can tell.
Get The Right Hoses and Fittings
This is where things get tricky, ensuring that all things will fit together. You will need the following hose and fittings.
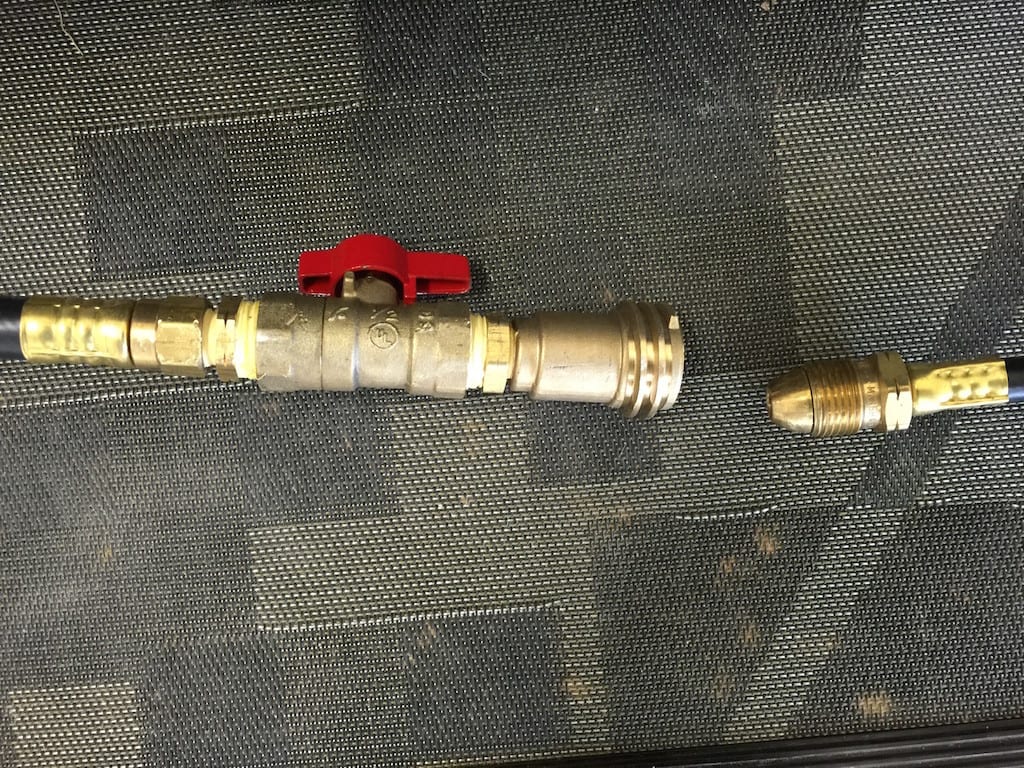
- 25′ of gas hose with 3/8″ female flare fittings (This is pretty common, but get the length you need)
- 3/8″ Flare to Threaded 90 bend (Flare end into hose and threaded end into the quick connect fitting)
- 1/2″ threaded Shutoff valve
- 1/2″ to 3/8″ Threaded reducer
- 3/8″ Flare to threaded fitting
- 1/2″ to 1/4″ threaded reducer
- 1/4″ male threaded to Acme Fitting reverse direction flow fitting (THIS IS THE KEY!!)
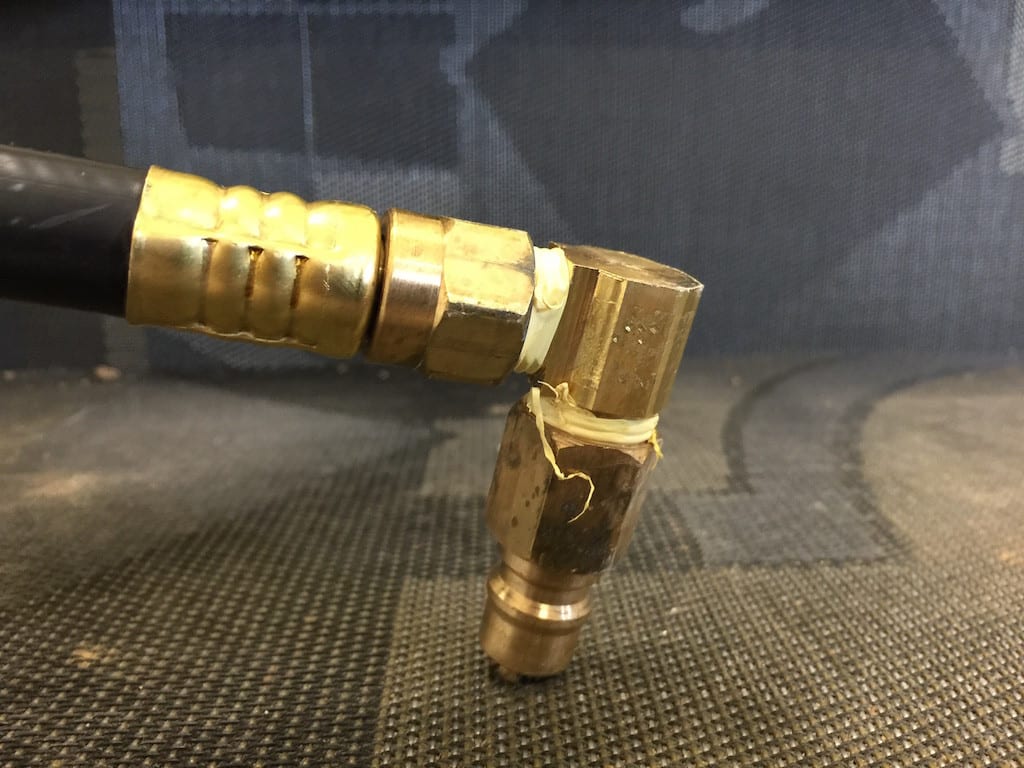

The last fitting is the magic and took me a few weeks to find. There are others out there that look like this but the key is the flow MUST run from 1/4″ side TO the Acme side. The others I found ran the other direction. This is because the hose that is at the coach is being fed as if it was connected to a propane bottle with an Acme fitting. Remember if you got an extend-a-stay you have that pigtail hose with a 1/4″ Inverted flare and the male ACME nut on the end. We are treating the hose coming from the house like a propane bottle connection with a localized shutoff at both ends. This works great since the 1/4″ inverted flare end of the pigtail does not spin freely allowing you to first connect that, then use the free spinning ACME end without hassle.
Summary
This setup is exactly what I was looking for and the $12 fitting was the missing link. Now you can easily thread the 1/4″ inverted flare pigtail into the extend-a-stay and thread the ACME fitting into the hose. Since only one end of the pigtail spins freely, this is a perfect quick install setup and works awesome!